E-Learning Instructional Design Certificate Portfolio
University of Washington
Introduction
Today, many early childhood educators are experiencing an increase in negative behaviors in their settings due to a variety of factors. After a needs analysis was completed, the data showed that staff needed additional resources to help support the increased needs in the environment. One strategy to support the identified need is to add visual supports into their environments. However, many of the staff members had varying degrees of knowledge on the definition of visual supports, the various types, what supports they are already using, and what they would like to use in their environment. To help with this, my goal is to create an asynchronous course called “Basics of Visual Supports” that contains five modules that are designed for early childhood educators who work with children ages 3-5. Each module should take about 30 minutes to complete. For my final project, I have created “Module 2: Understanding Visual Boundaries” as one module from my “Basics of Visual Supports” course. The modules will include the following;
Introduction to Visual Supports
Understanding Visual Boundaries
Visual Cues
Visual Schedules
Putting It Into Practice
By the end of the course, the goal is for early childhood educators to have the foundational knowledge of various types of visual supports. The goal will be for the educators to demonstrate that knowledge through conversations, artifacts, and/or descriptive examples. These examples and artifacts can be things they are already doing in the classroom or what they would like to increase or add to the classroom.
This brief portfolio features an e-learning project that was created as part of the University of Washington E-Learning Instructional Design certificate and is the sole design of Tara Peters.
Overview: Design and Development
In order to build my final project, I completed multiple steps using the ADDIE method. Included in this brief portfolio are examples of the project planning and prototyping process for our course.
ADDIE Process:
Analysis: E-Learning Proposal
Project Proposal
Some of the key elements of the analysis phase of the ADDIE instructional design model is to identify a need based on a gap of skills or performance. The following project proposal identifies a skill gap among early childhood educators related to visual supports. The learner personas were also used when analyzing the situation and determining a design approach.
***Note: The project proposal listed below is related to an early iteration proposal and is not representative of the final project.***
Title: Modeling Effective Visual Supports Strategies in Early Childhood Education
Description: The online training is designed for early childhood educators seeking to enhance their skills in utilizing modeling techniques related to visual supports. Participants will explore the concept of modeling, including its significance in early childhood education, and will review various examples and techniques for effective implementation in their learning environment.
Part 1: Project Scope
This course will consist of five modules. The project will be a completed sample of one of the modules.
Part 2: Background
- Gap: A significant increase in negative behaviors has been noted by early childhood educators. Negative behaviors can be reduced by modeling visual supports in their environment. However, educators are struggling with applying their knowledge of visual supports and modeling in their specific environments.
- Audience: Teachers and Caregivers who work with children ages 3-5
- Training Goal: The training goal is to equip teachers and caregivers with the foundational knowledge, skills, and practical experience necessary to effectively develop and implement a plan using the skills acquired in their respective environments.
- Main Assessment: Each module will include a post-test that requires a minimum passing score of 90% to confirm mastery of the skills. Additionally, there will be various check-in quizzes throughout each module to assess understanding of the recently covered content.
Part 3: Design Approach
- Format/Structure: Asynchronous, self-paced – Organizations will have the option to purchase additional synchronous interactions to enhance the learning experience gained from the asynchronous course.
- Possible Technology: LMS System (Canvas, Moodle), Articulate (Rise, Storyline), AI Voice Audio Technology (TBD)
Part 4: Implementation
- Context (where, when, how): This learning will be advertised yearly to local school districts and childcare centers. Organizations can start the course at any point throughout the year through a LMS system.
- Org Considerations: Learners will have varying levels of access to technology and differing levels of technical skills. To ensure inclusivity and usability, the course content must be accessible on both mobile devices and computers. Since the course will be marketed to organizations such as school districts, it is essential that the learning materials comply with Section 508 requirements.
Learner Personas
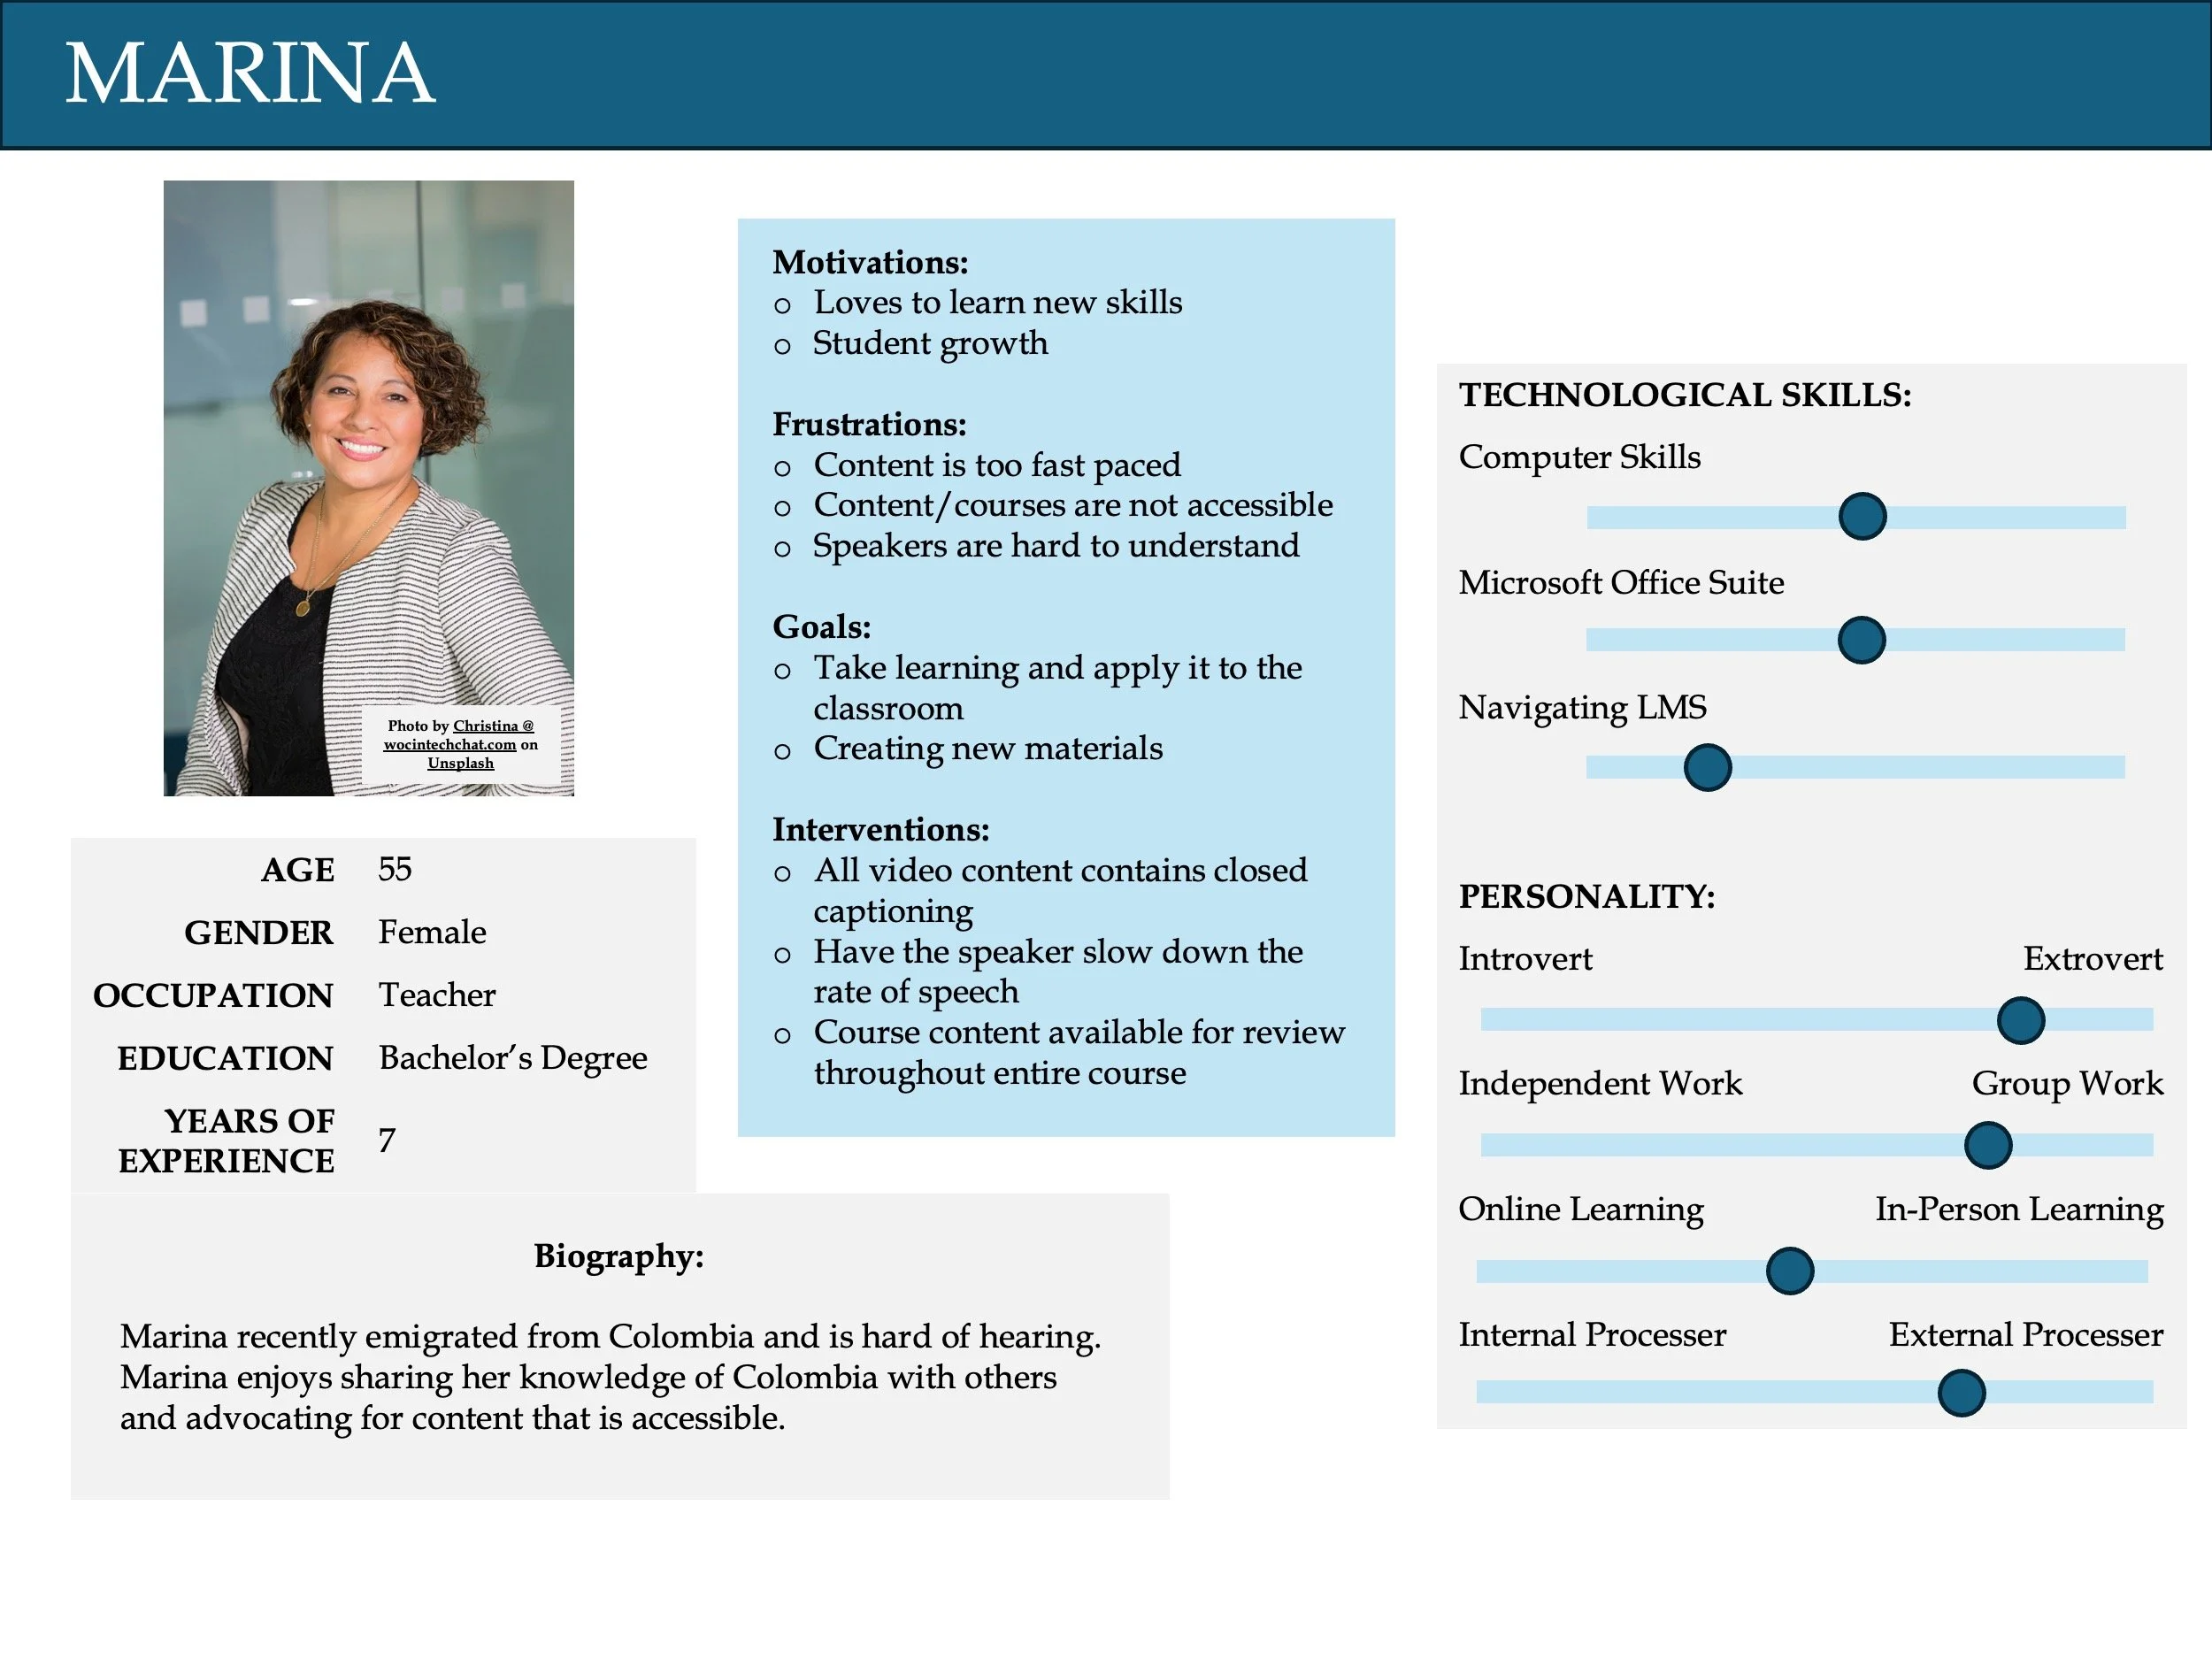
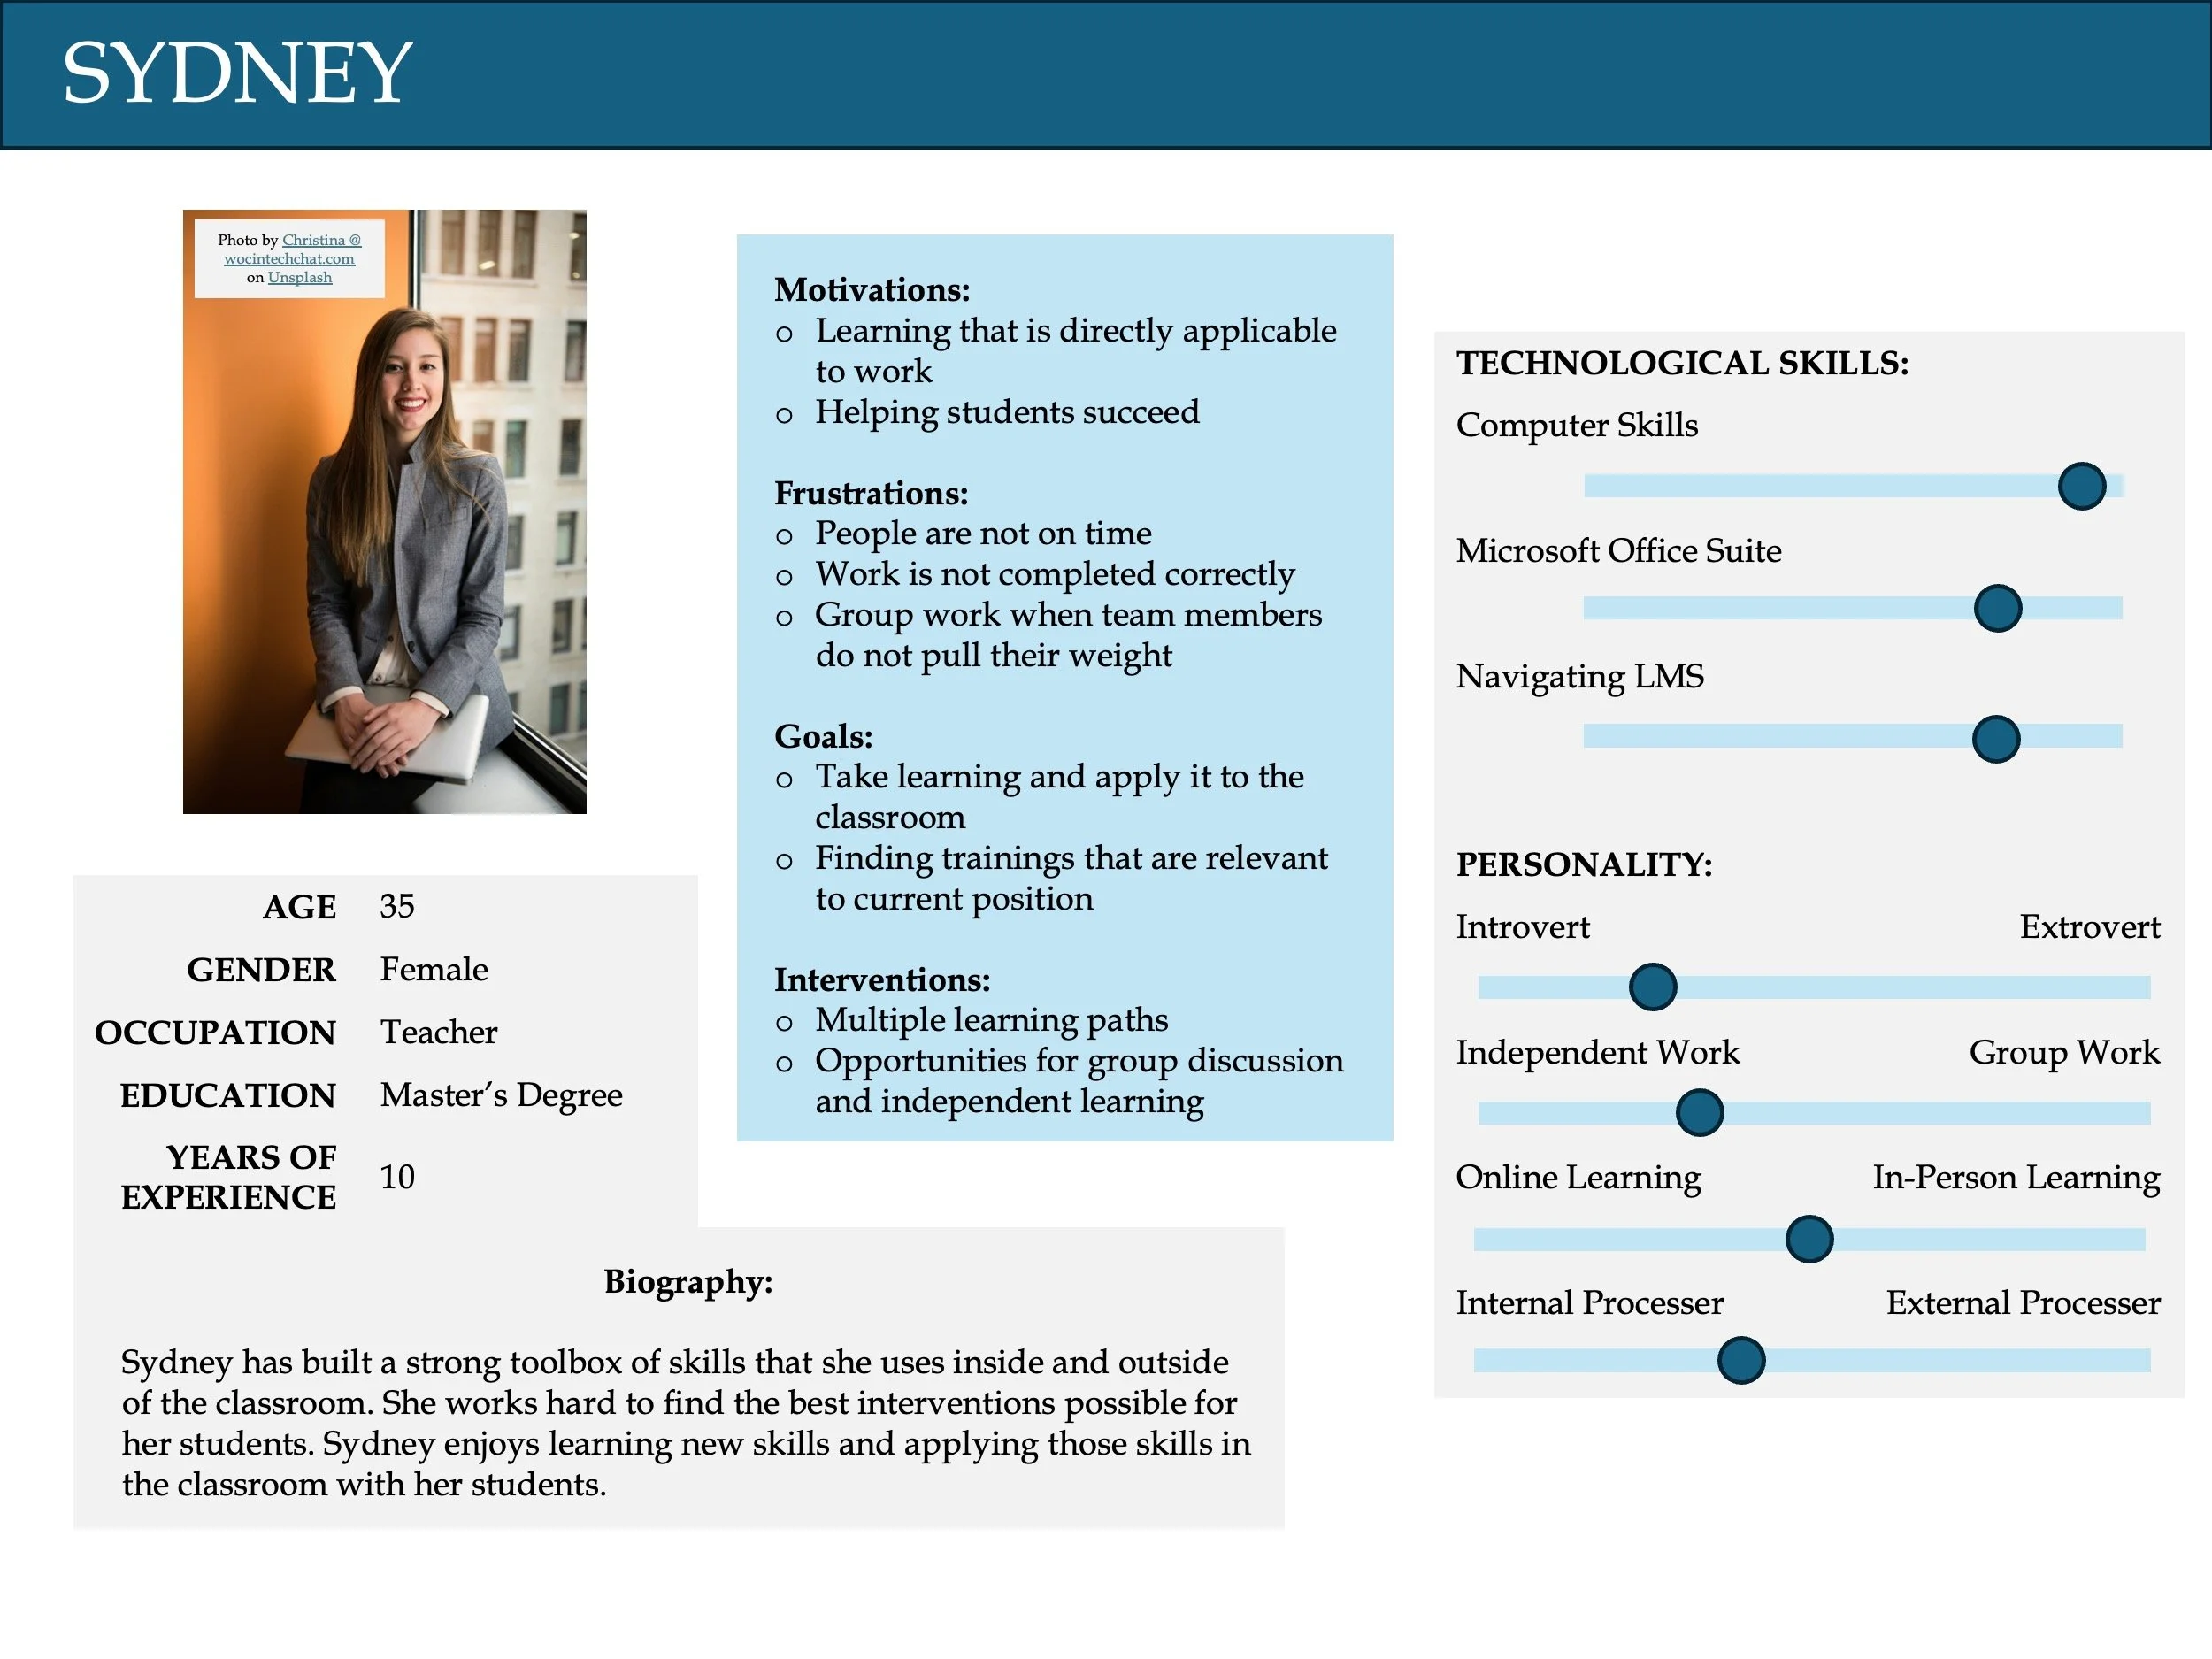
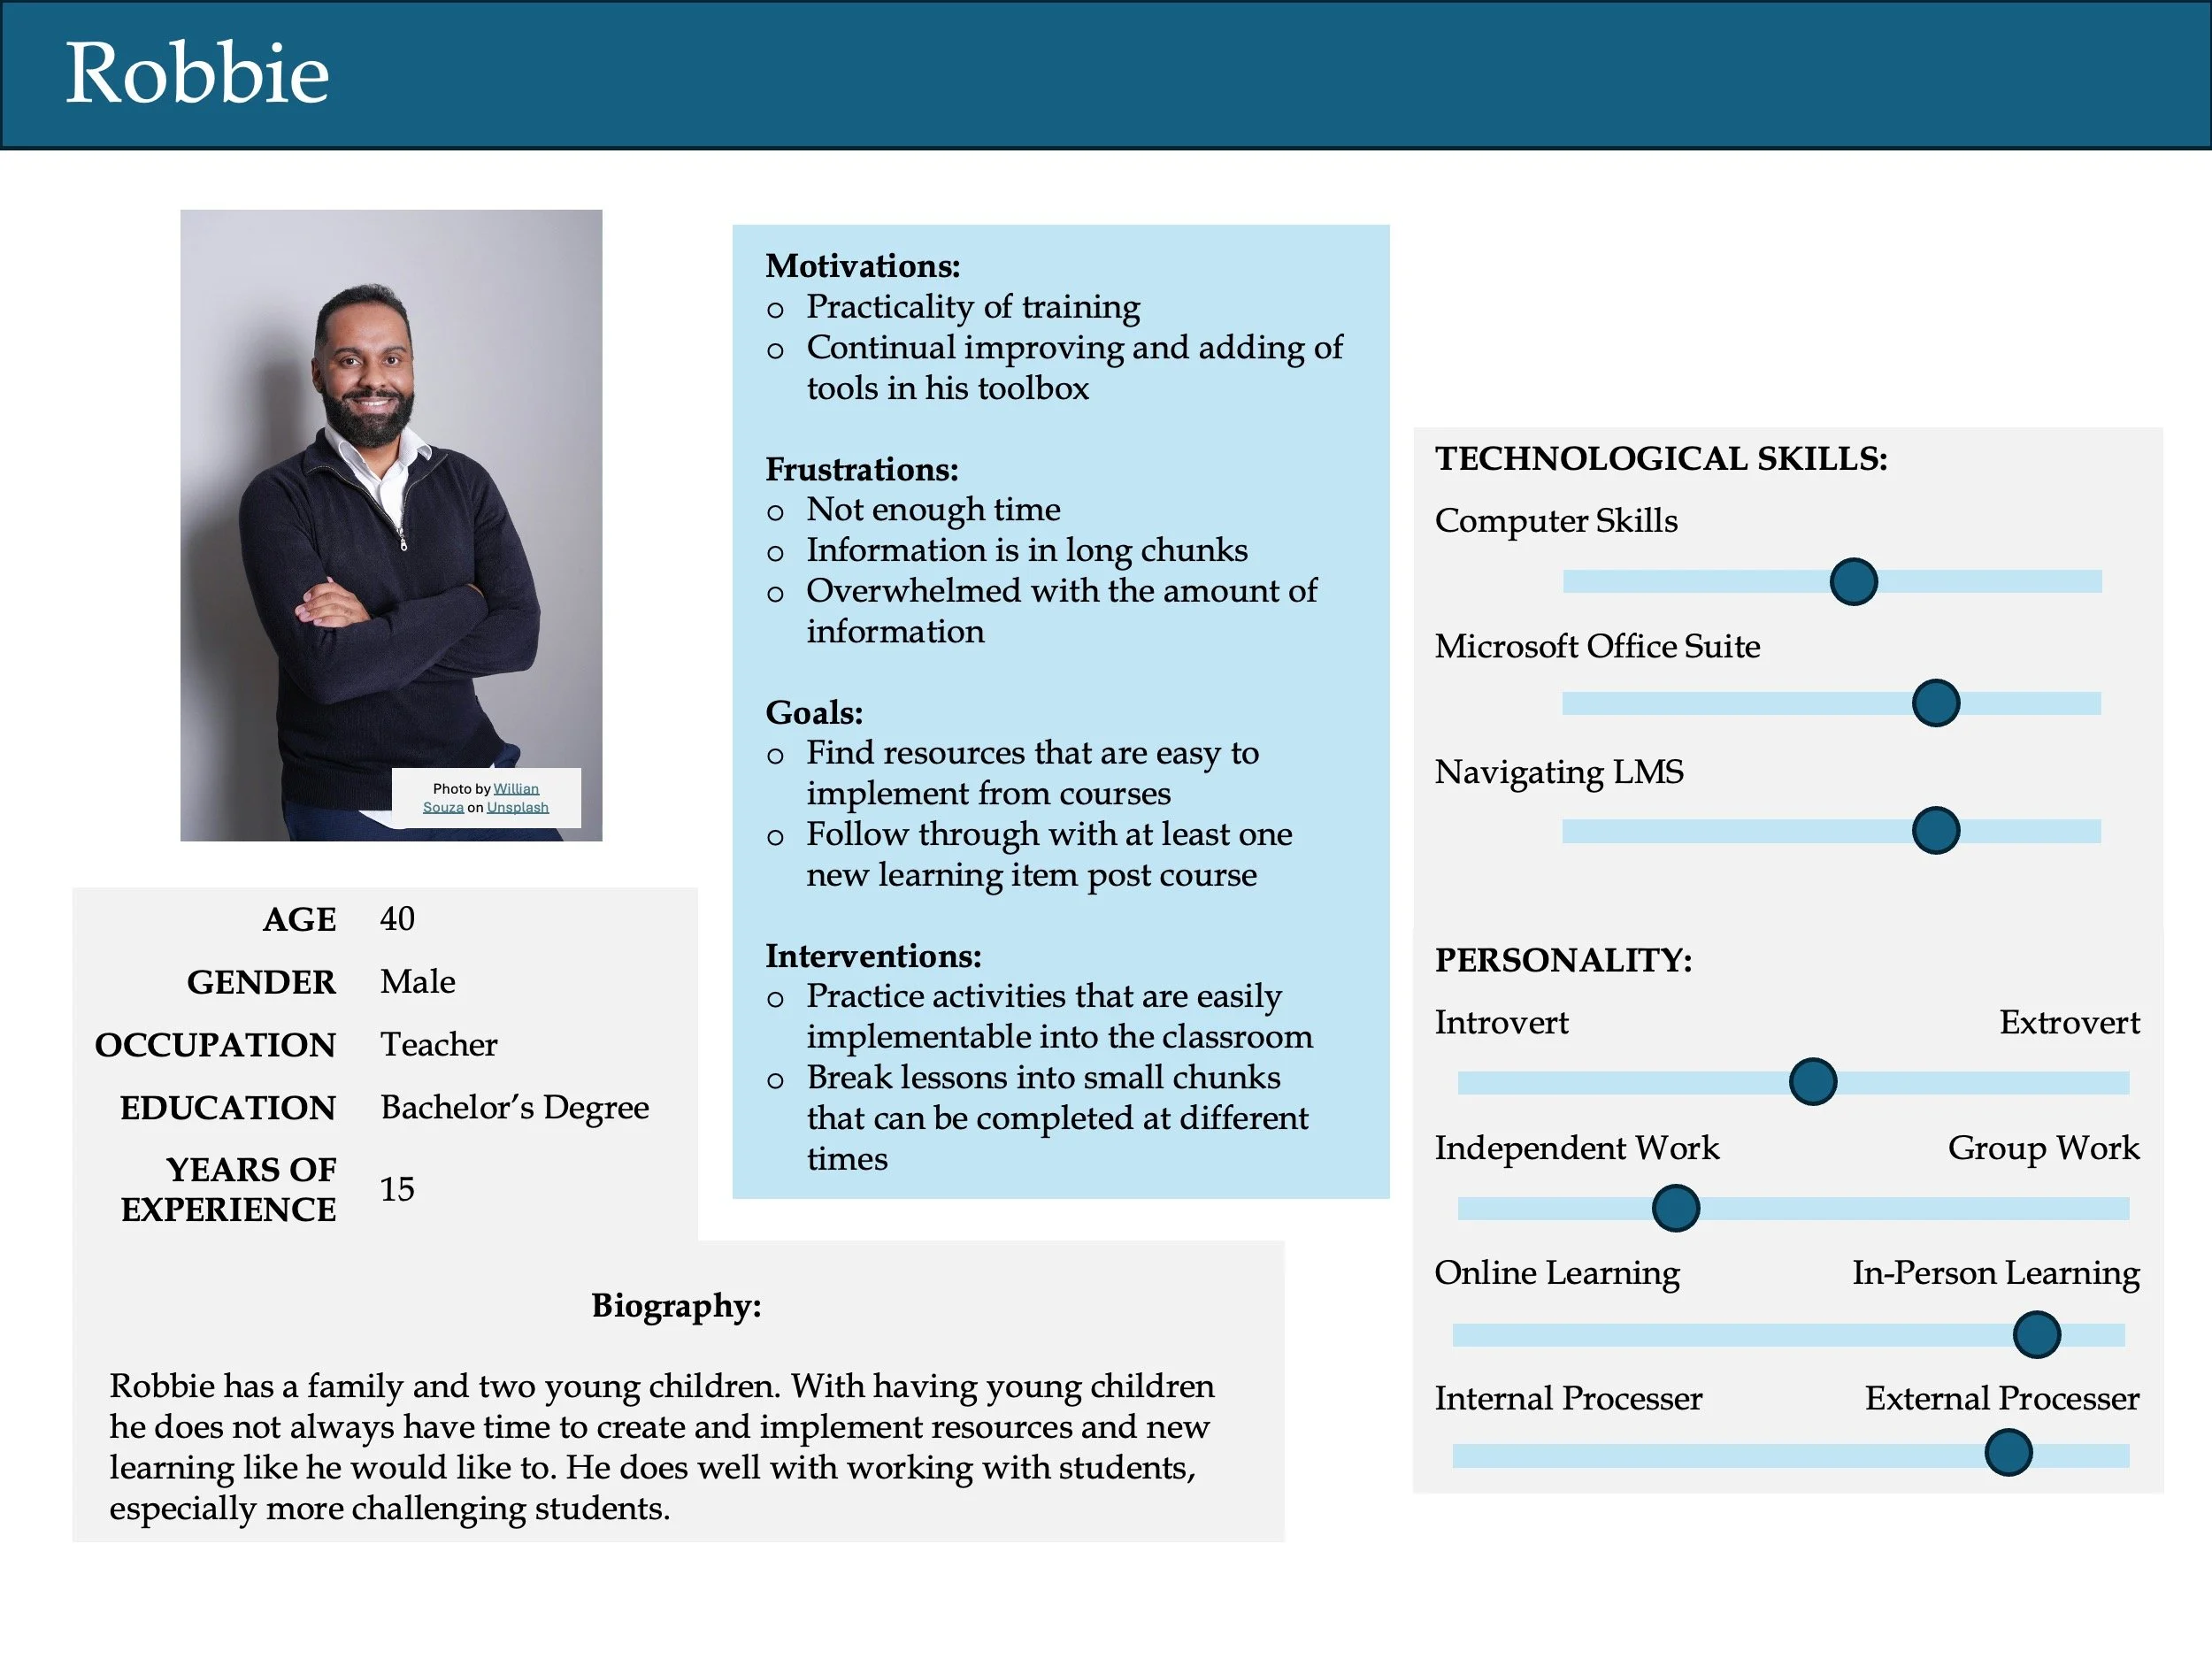
The fictional characters below represent four unique learner personas in the education field. Creating the e-learning experience with these diverse individuals in mind allowed me to build an inclusive program that caters to a wide range of learners, not just in a single group.
-
![Image with various information about a fictional character named Martina. The following information is included; biography, motivations, frustrations, goals, interventions, technological skills, and personality.]()
Marina
-
![mage with various information about a fictional character named Sydney. The following information is included; biography, motivations, frustrations, goals, interventions, technological skills, and personality.]()
Sydney
-
![Image with various information about a fictional character named Robbie. The following information is included; biography, motivations, frustrations, goals, interventions, technological skills, and personality.]()
Robbie
-
![Image with various information about a fictional character named Thao. The following information is included; biography, motivations, frustrations, goals, interventions, technological skills, and personality.]()
Thao

Design: Storyboard
Storyboard
During the design phase, it is important to detail an initial roadmap of not only what the learner will come away with but how that learning is completed. My initial storyboard shows an early iteration of the asynchronous course that will be built, as well as, plans for a variety of interactive learning activities.
***Note: The storyboard and savvy start information listed below is related to an early iteration proposal and is not representative of the final project.***
When completing my initial storyboard, I had a solid understanding of the gaps in skillset, but I did not know how to move forward from that step. Therefore, my initial storyboard was more restrictive on the information that I provided. After receiving feedback, I was able to take my large idea and refine it to a manageable project. Below you will find pictures of the first and second iterations of my storyboard.
Pre-Test: Iterative #1
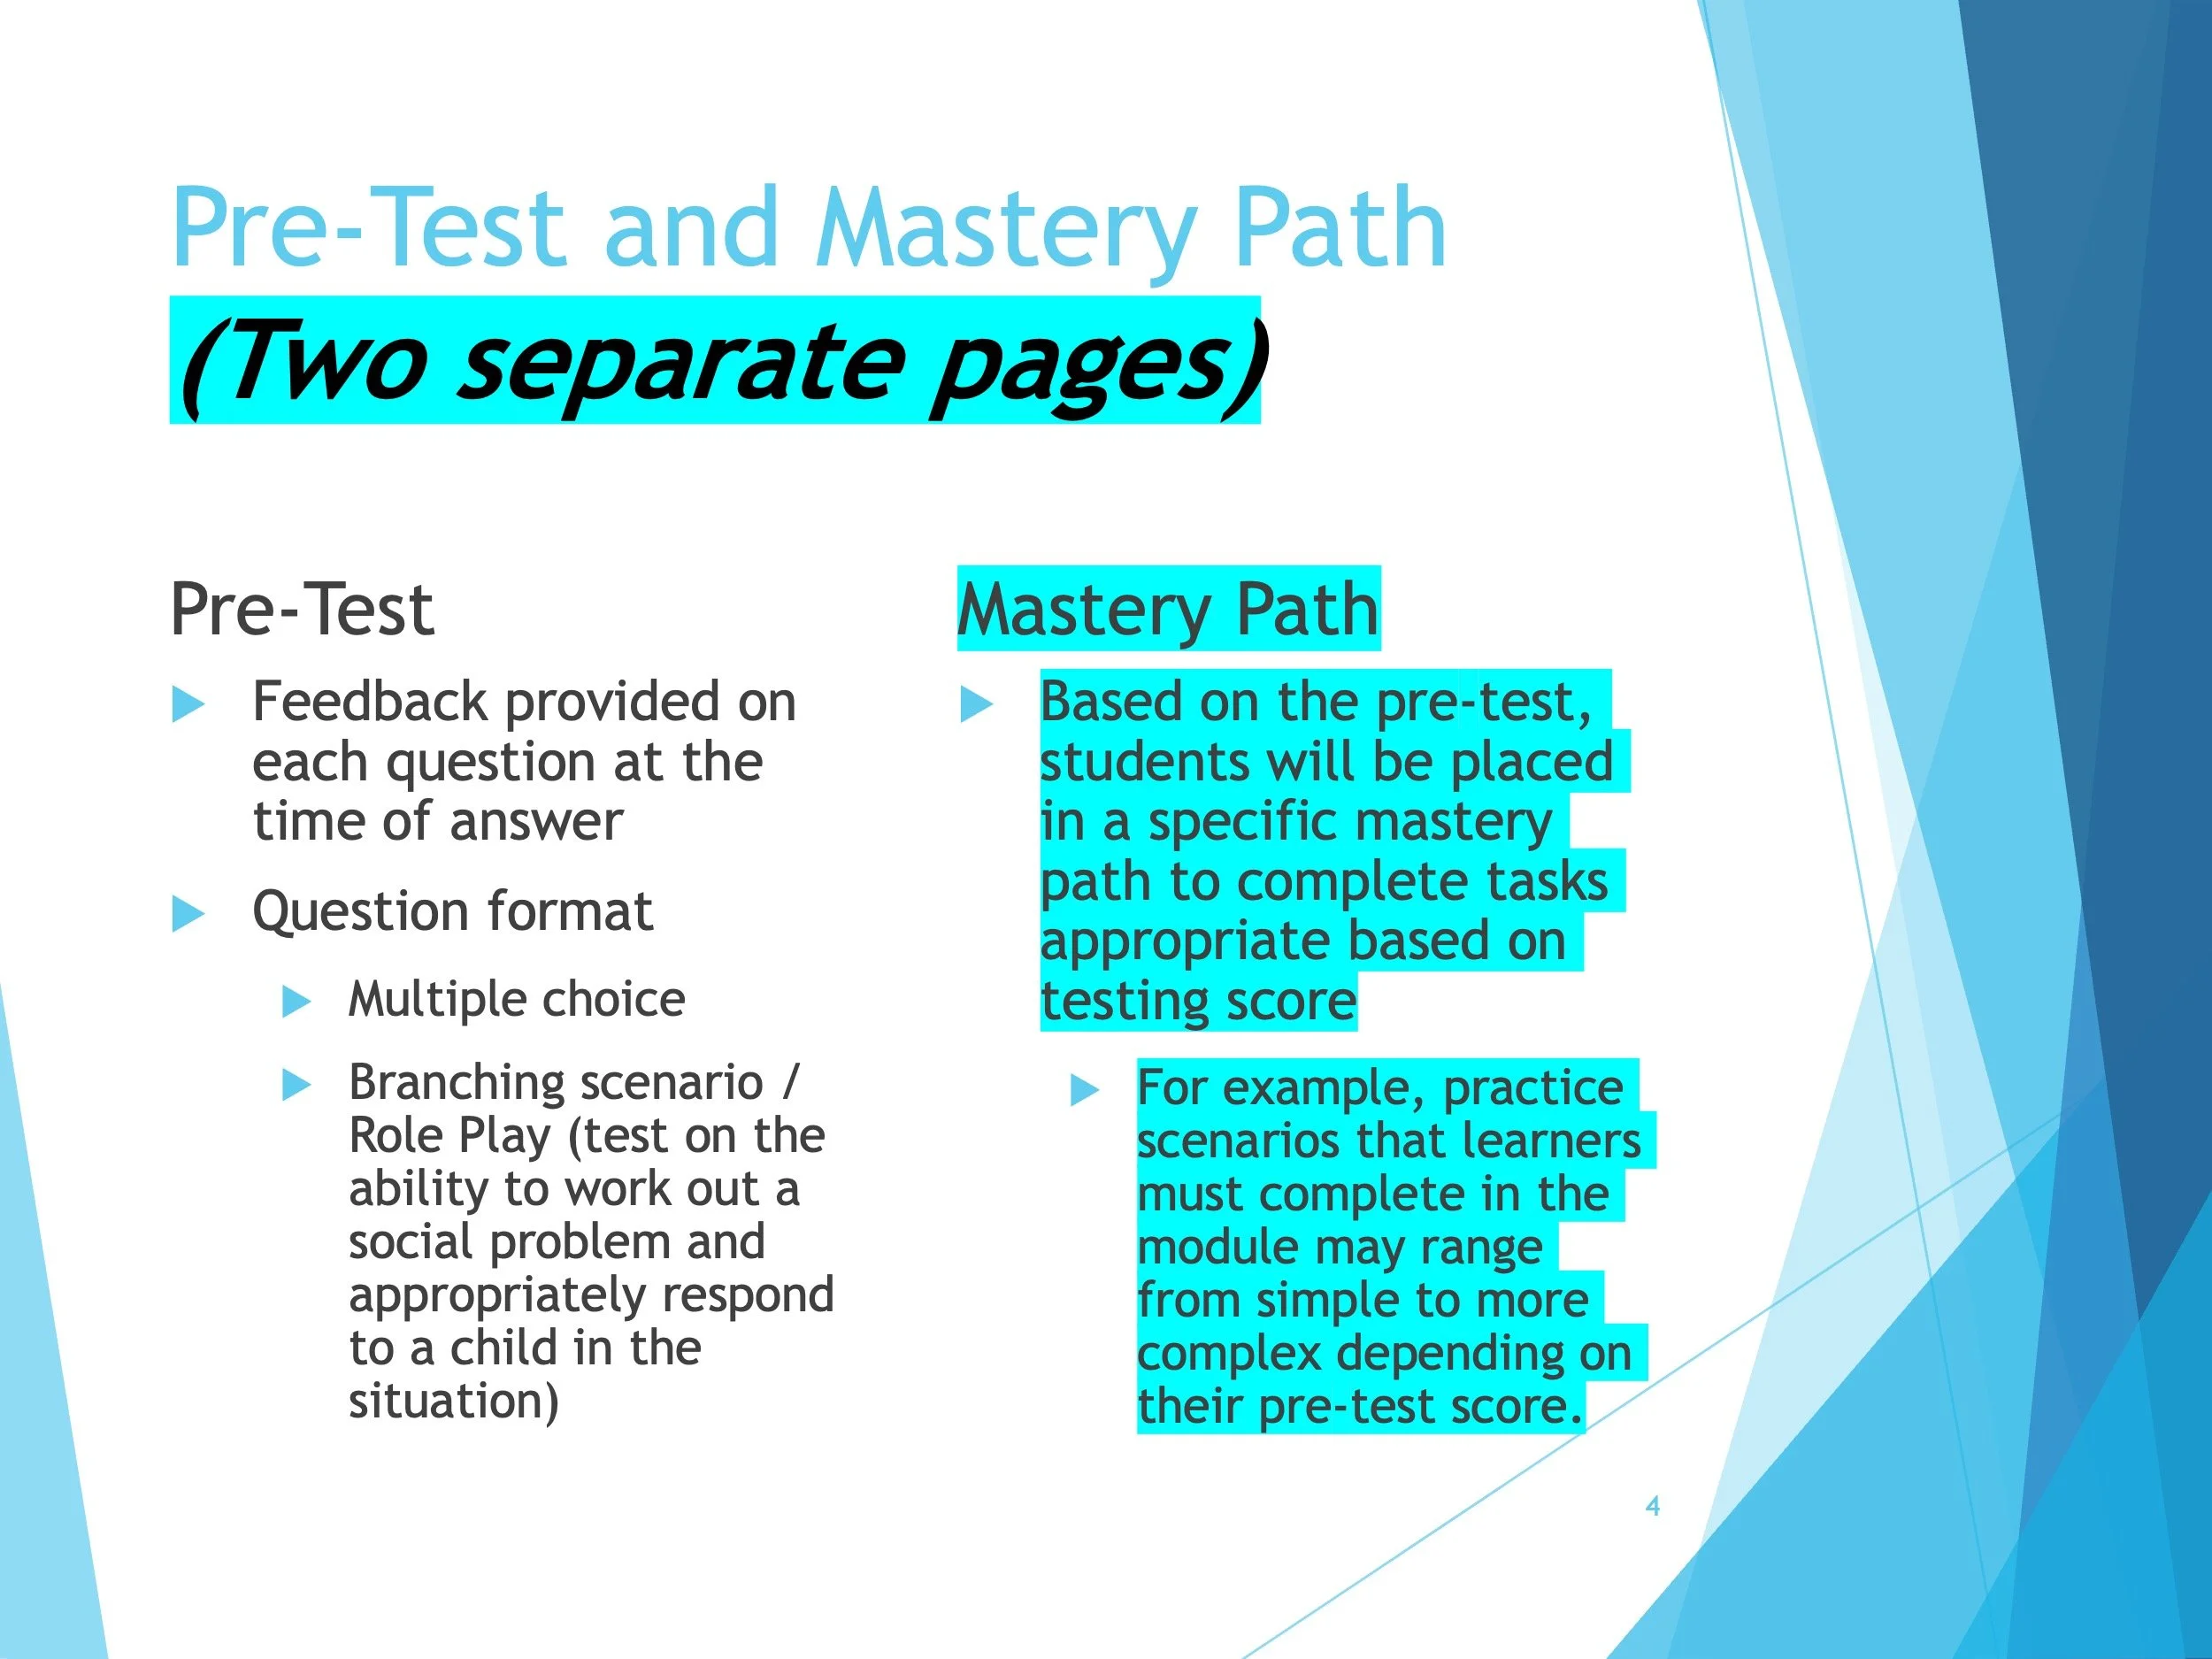
Pre-Test: Iterative #2 - During the review process, a question was raised regarding what would happen if an individual passed the pre-test. With this feedback, I decided to add in a mastery path to review the content depending on how an individual performed on the pre-test.
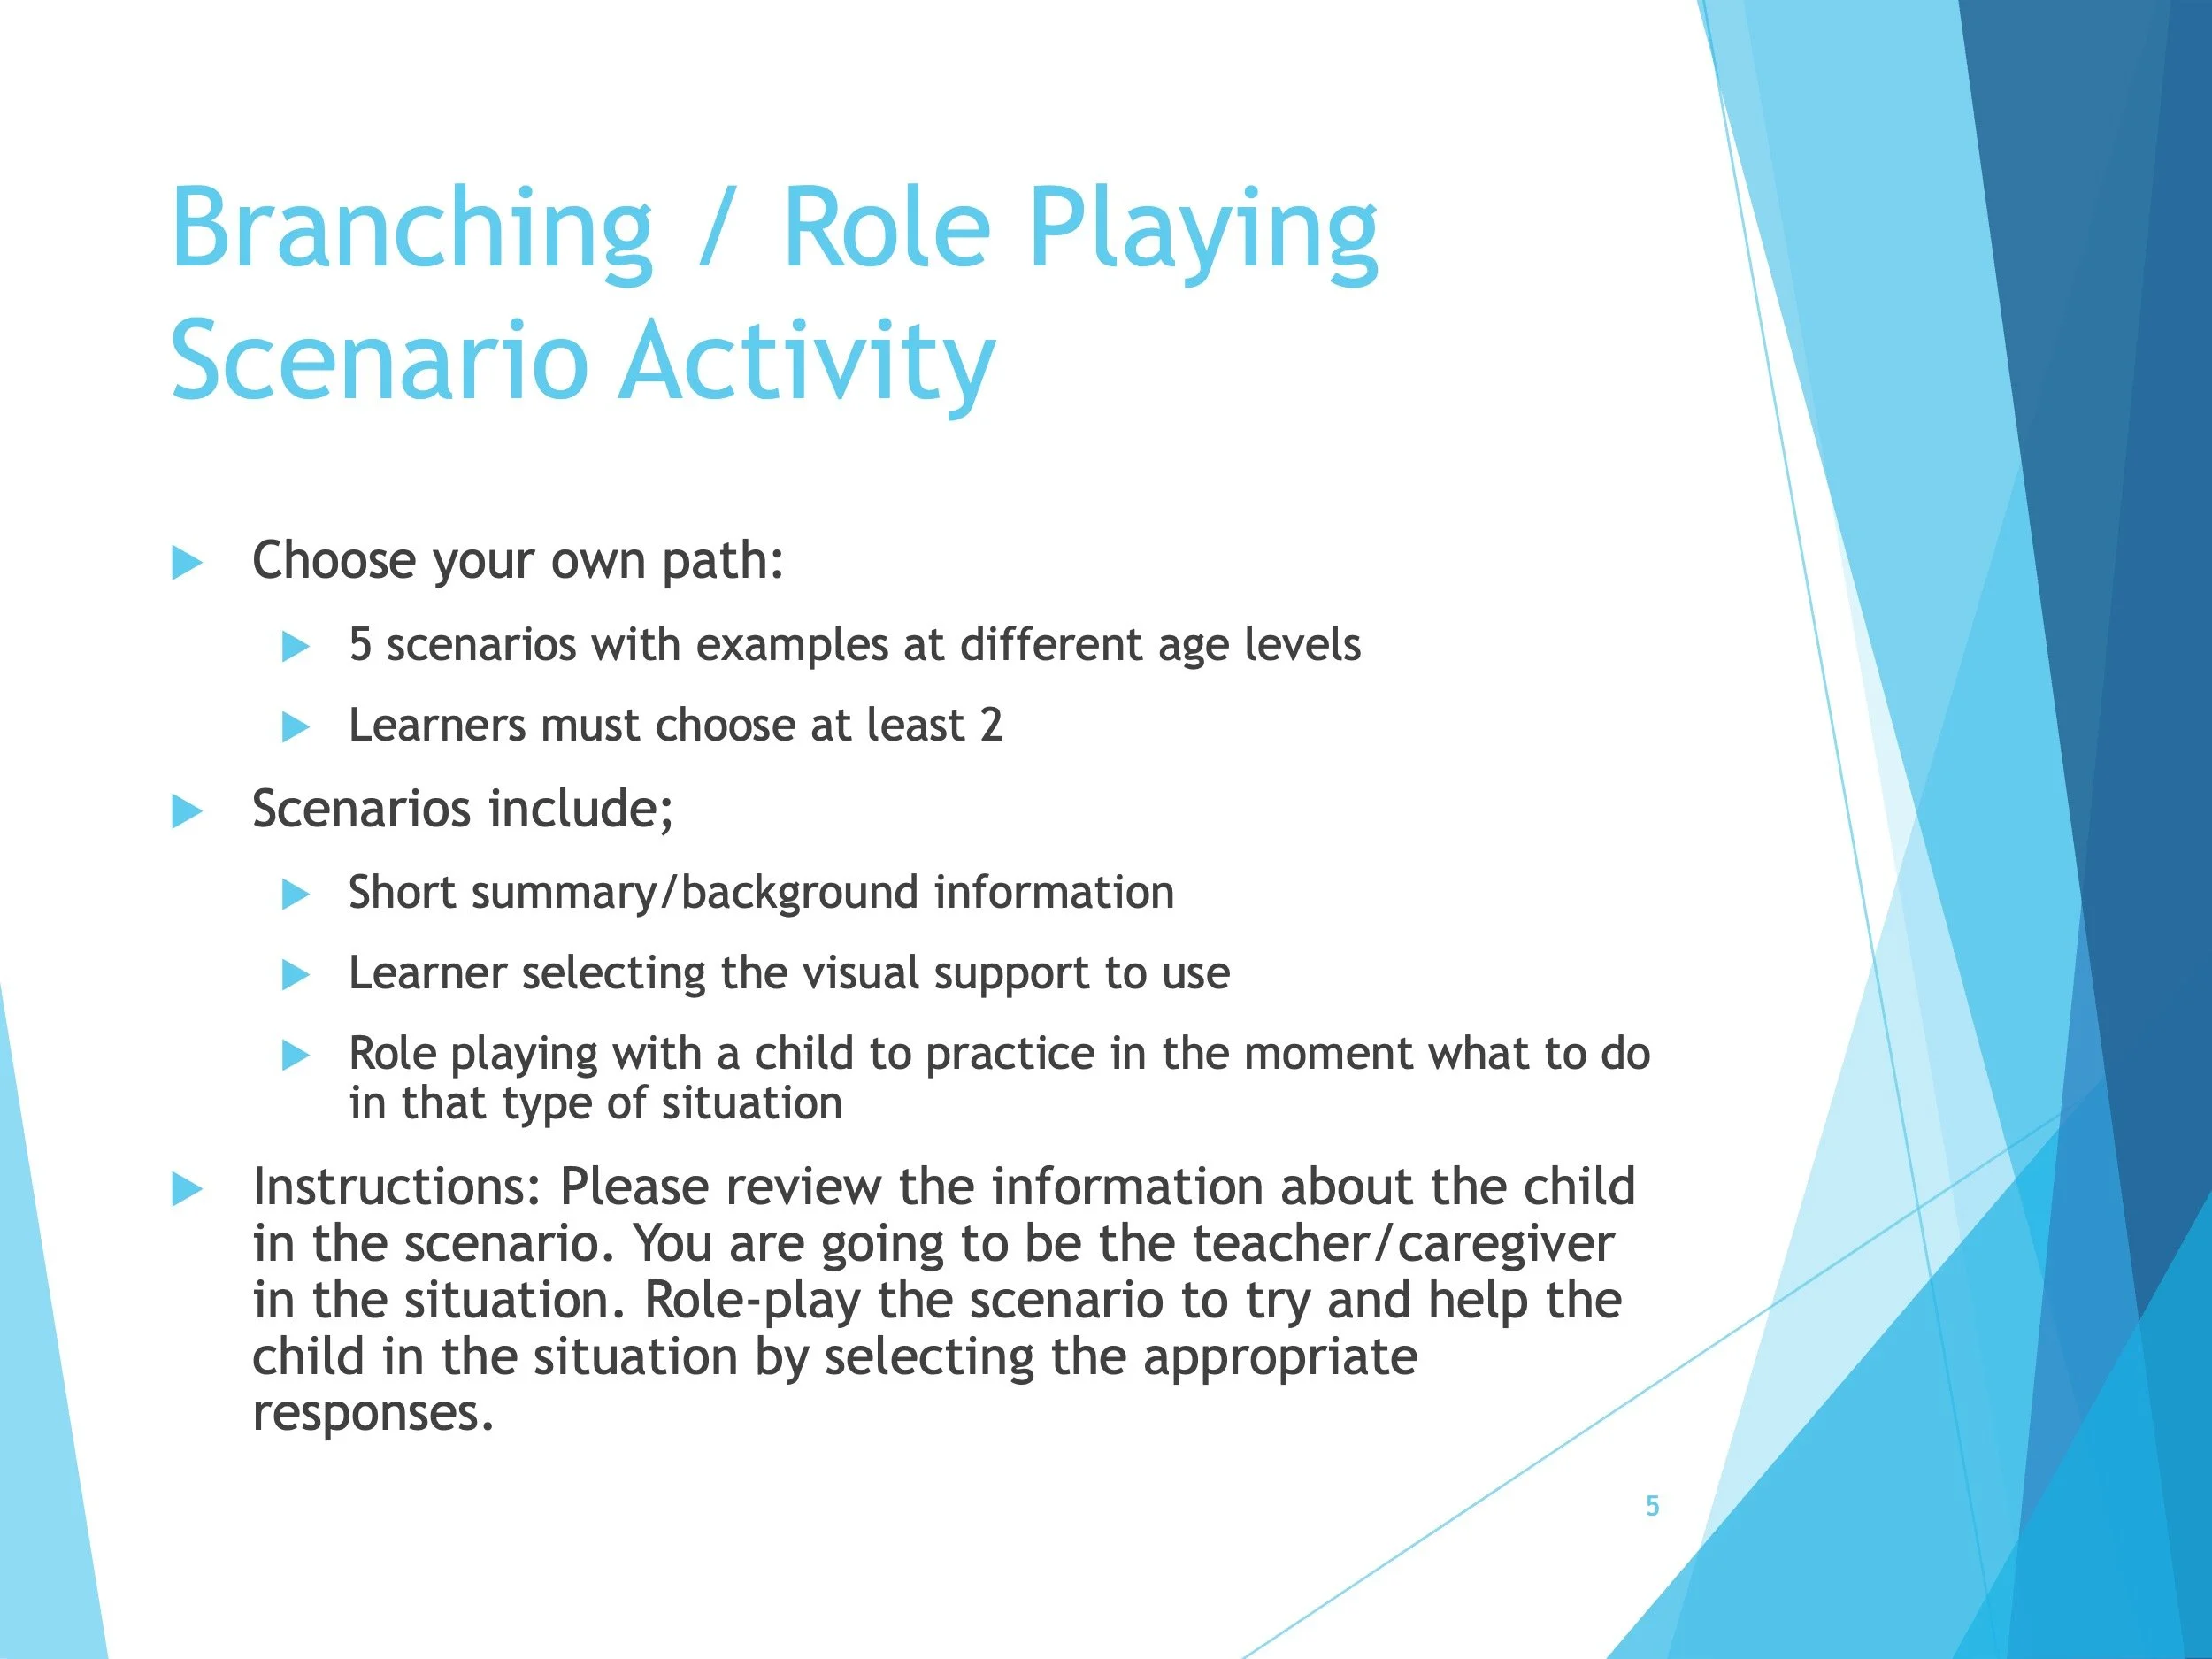
Branching Scenario: Iterative #1
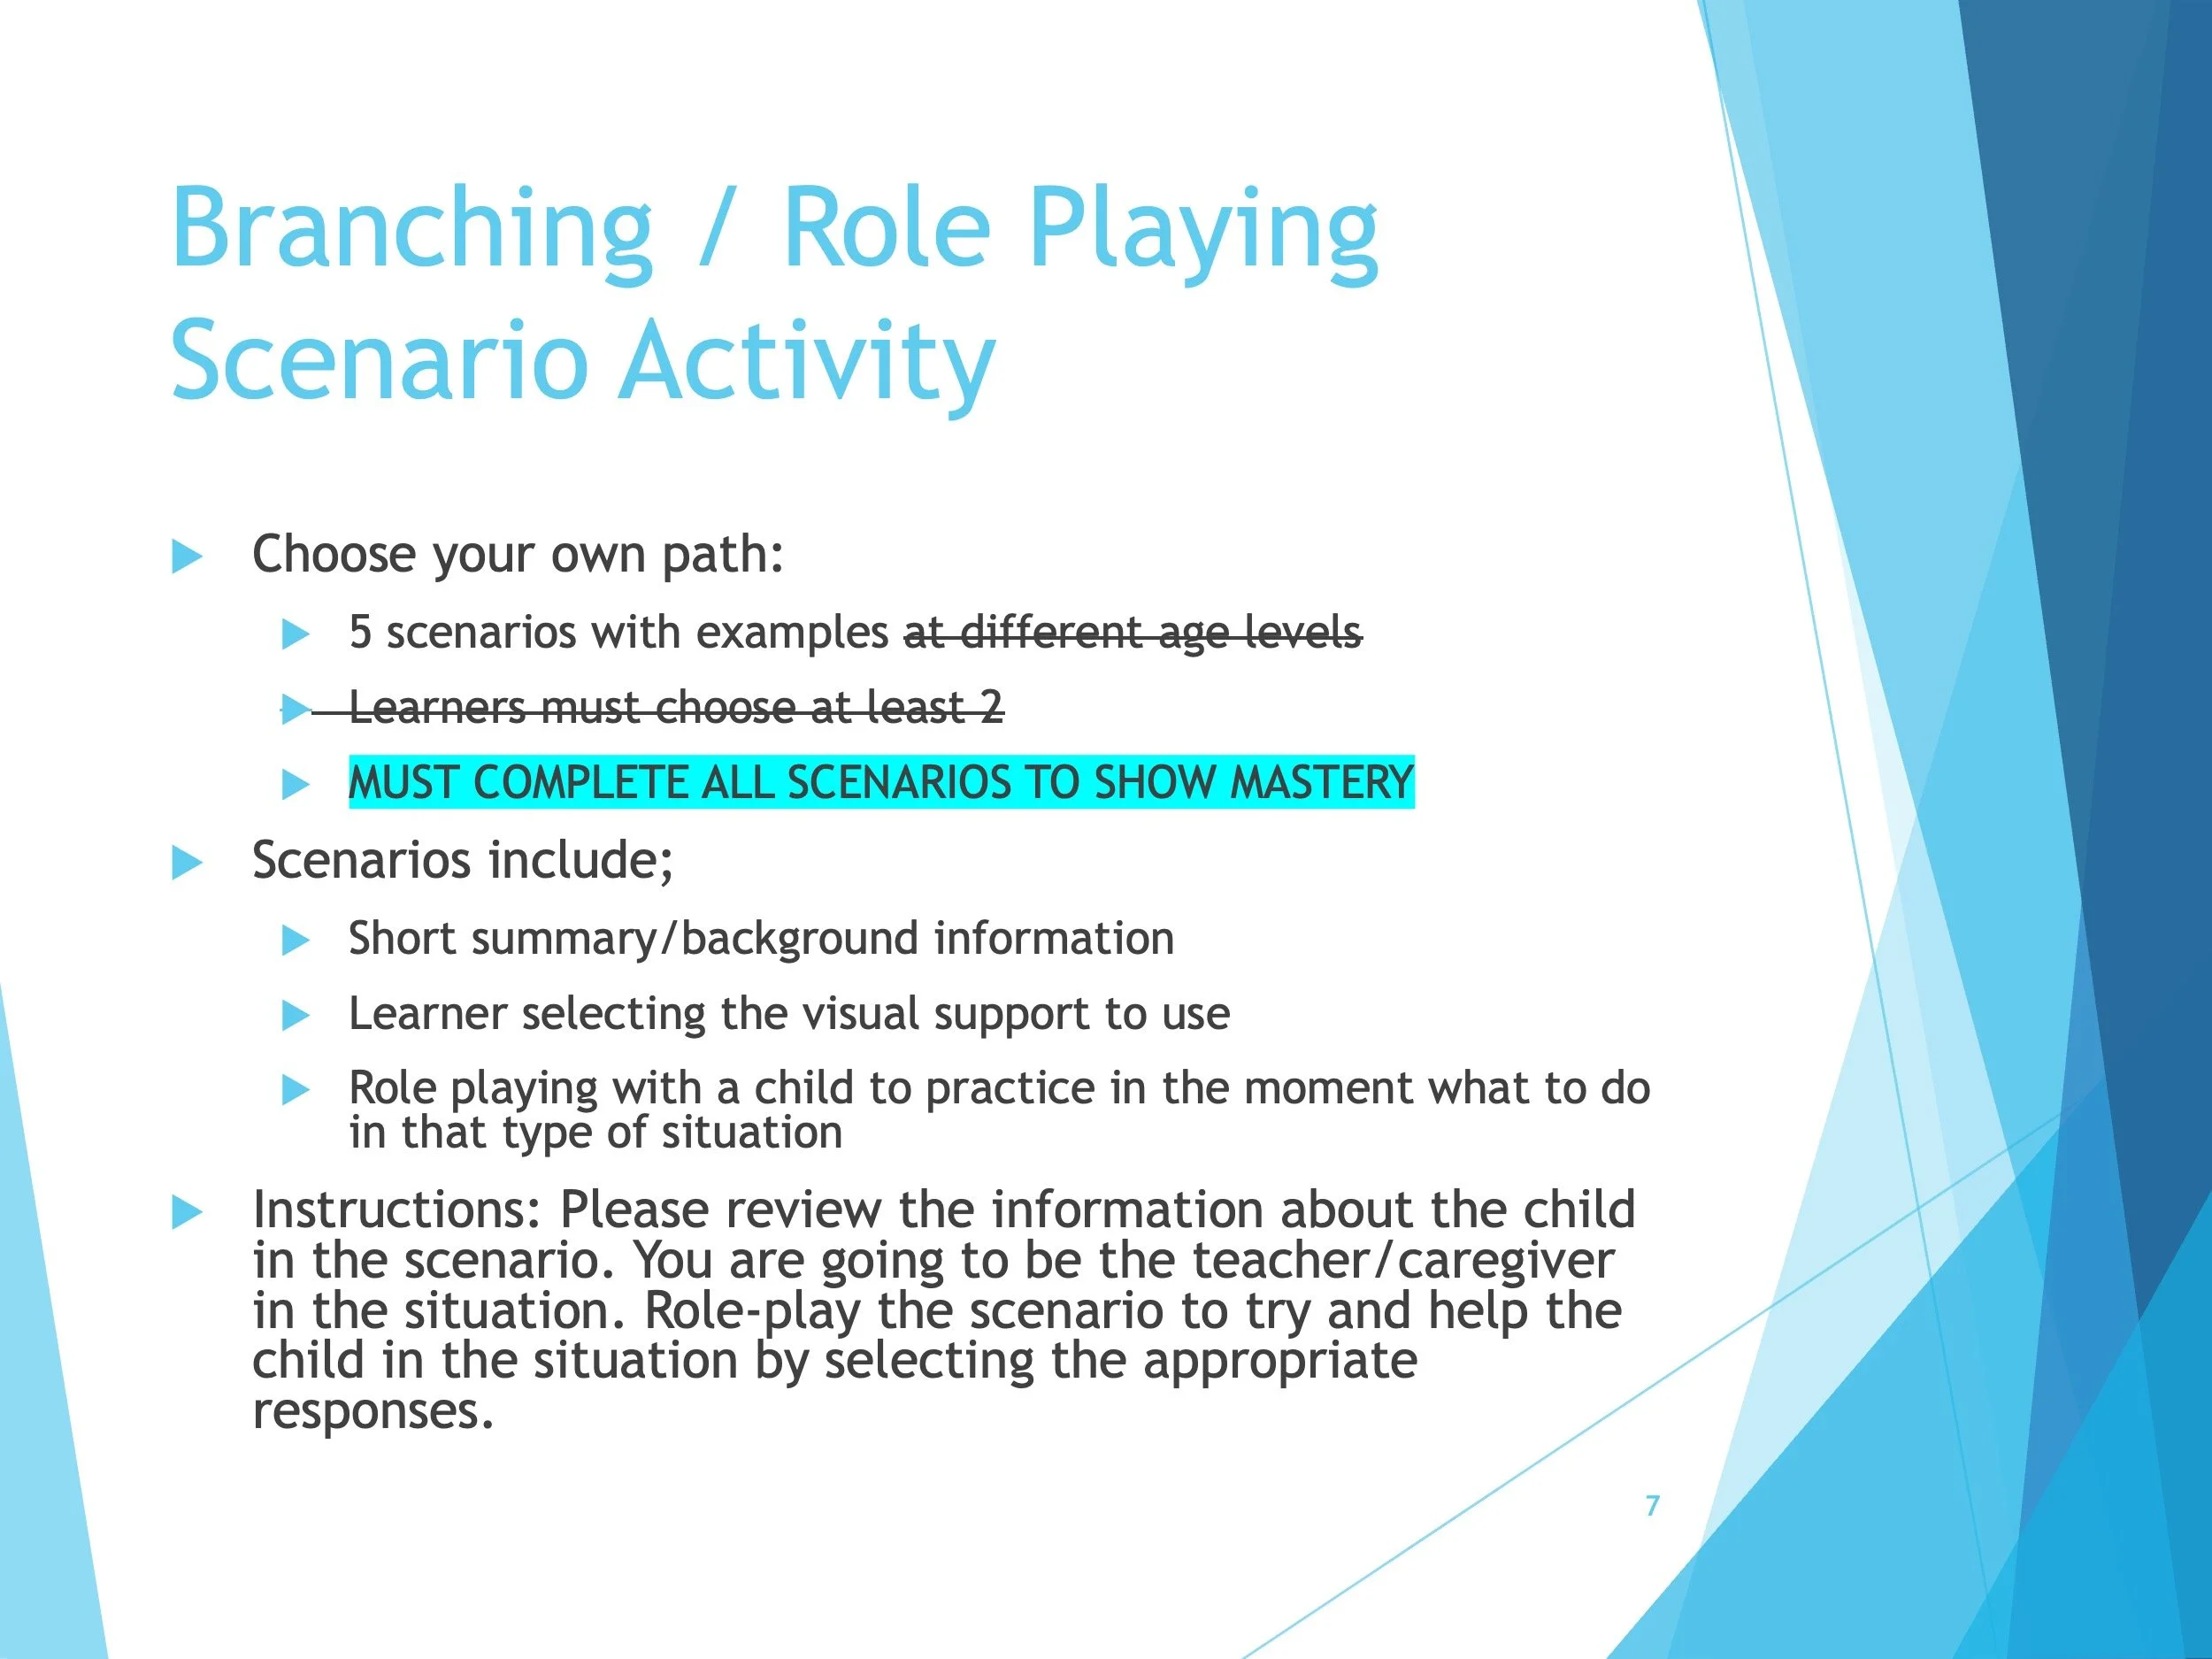
Branching Scenario: Iterative #2 - Based on feedback from peers, it was recommended that learners needed to pass all five scenarios to show mastery rather than picking two out of the five to complete.
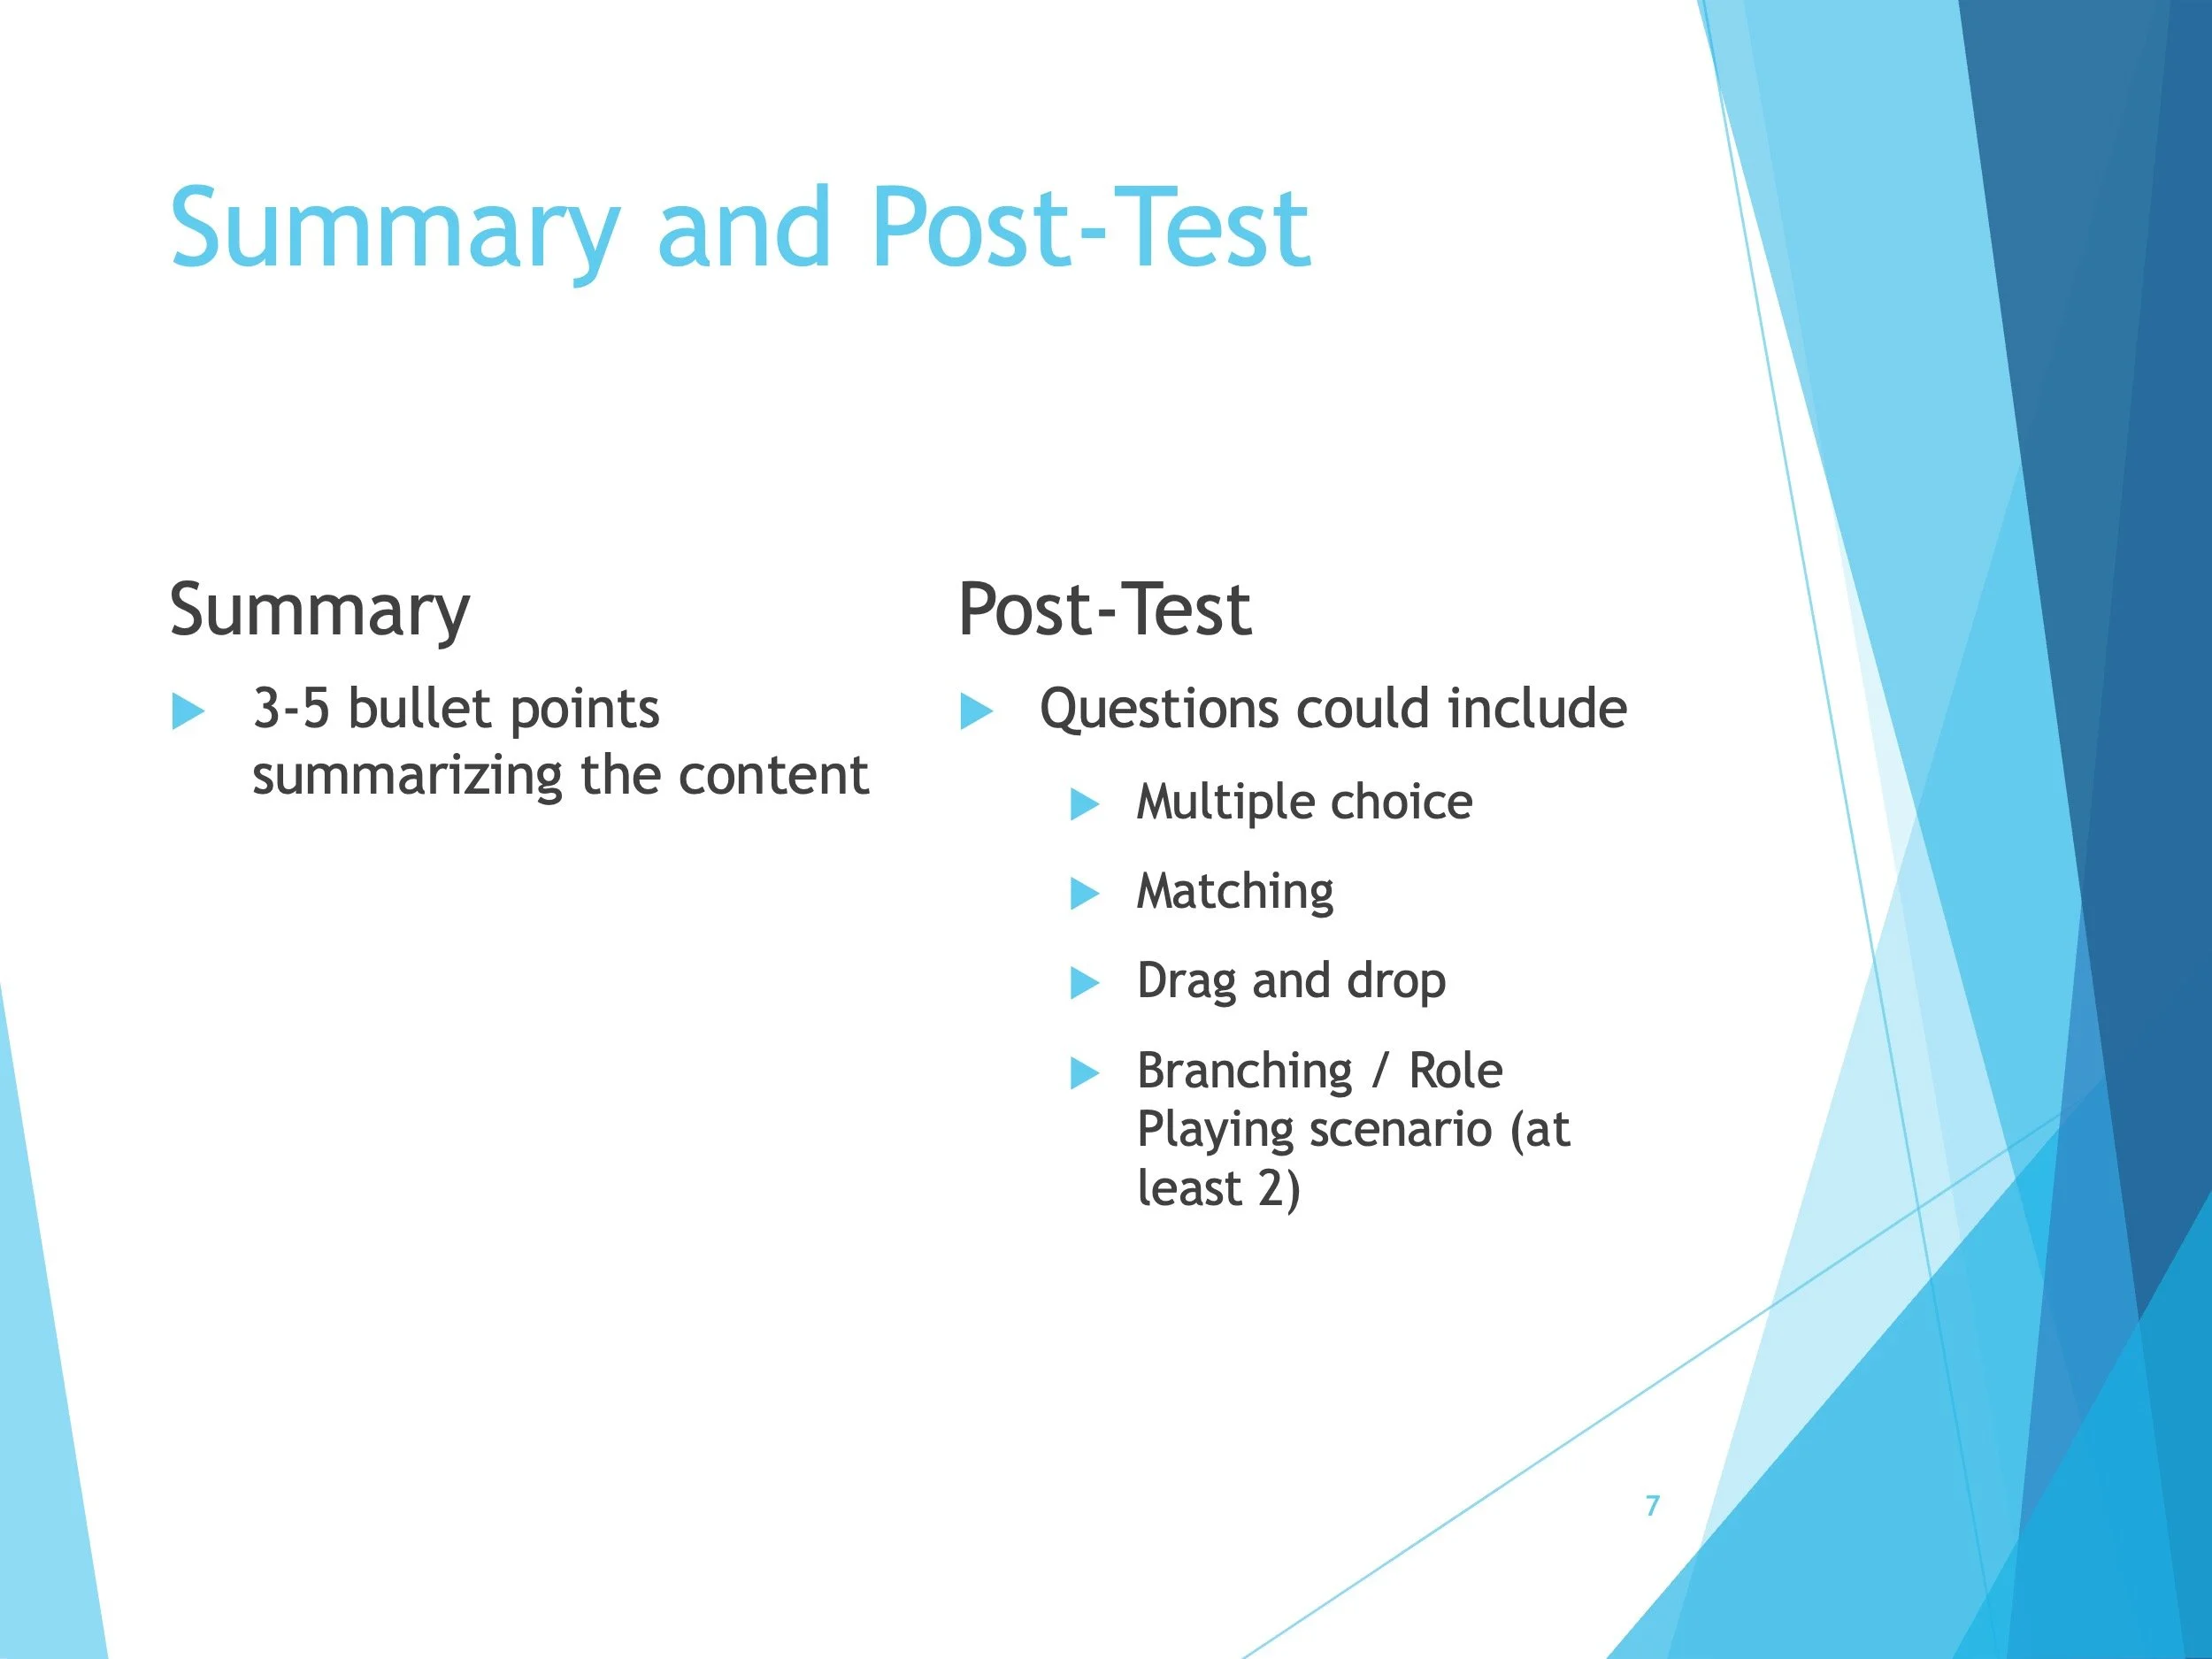
Post-Test: Iterative #1
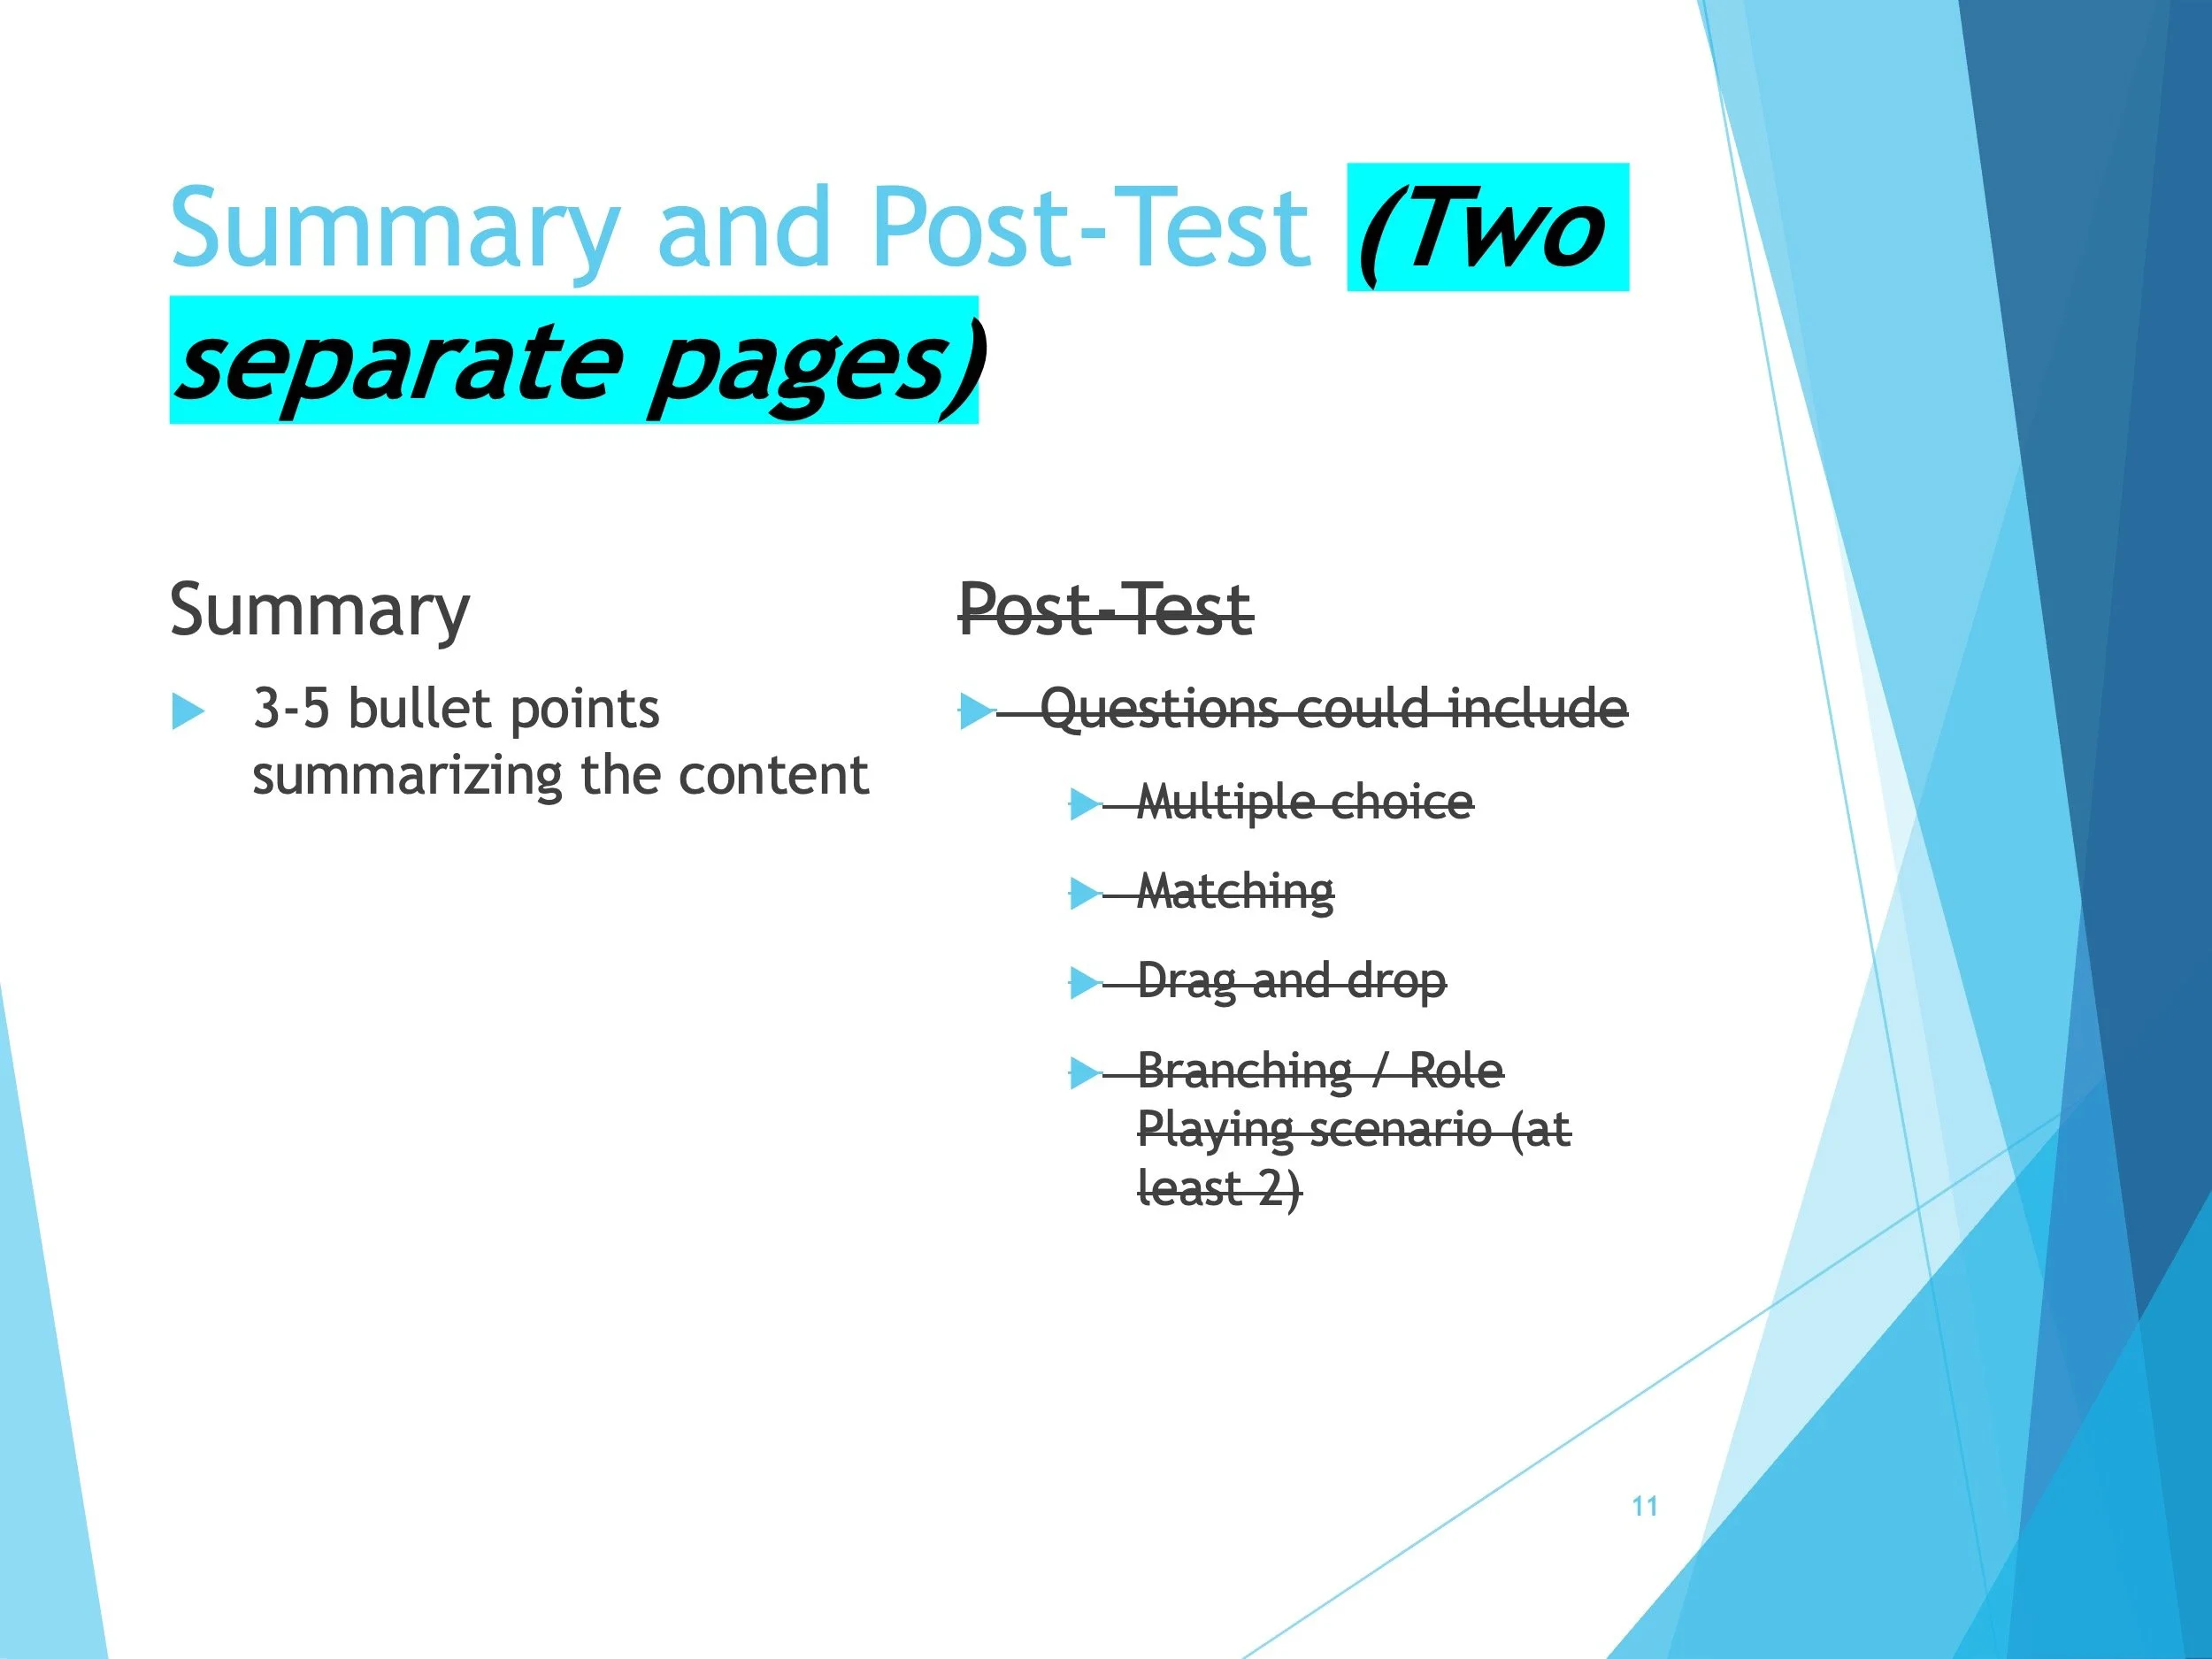
Post-Test: Iterative #2 - This module is estimated to take 20-30 minutes to complete. Based on feedback from my peers, it was recommended only have a pre-test or post-test, not both.
Savvy Start
Summary of Project:
The modeling techniques for social behaviors will be the second module in the course around using modeling strategies to increase positive behaviors. This module will include learning about social behaviors, how to identify the best visual support for modeling a specific scenario, and how to use that tool to improve positive social behaviors. With drag and drop activities and role-playing scenarios, learners will be able to gain hands-on learning to ensure mastery of content.
Explanation of Feedback Used:
I used the feedback from my peers in multiple ways. The biggest change from their feedback was the decision to include a pre-test that will then create a learning path for students. Since the course is intended to only be 20-30 minutes, a post-test will not be included but rather scored quizzes after the interactions to ensure mastery of objectives.
Based on some of the feedback, I included more details and/or examples into the storyboard. For example, one peer asked about the use of audio and including real children in an example or using AI children for the interaction. I had already planned on doing this but did not specifically include that information in my storyboard.
Savvy Start Lessons Learned:
My original project proposal was very large scale and did not have a clear path of where to go. However, with feedback, I was able to narrow down my ideas and start getting a clearer view. One thing that I wish I would have done was go back and create objectives for the project that I am currently working on to help guide things more. However, I am still unsure of the complete path of the module.
It is hard not to overthink the process (both initial prototype and revising the prototype). I had to stop myself a couple of times and review what I was doing as I was trying to determine more of the content in detail which is not needed at this step.
I also found it challenging to complete some of the storyboard when the platform for hosting the module is unknown. I have an idea of what I would like to do but I do not know if I will have access to those resources or not.
I enjoyed reviewing peer storyboards as I was able to gain insight into how different people interpret the storyboard regarding their projects. It also helped me see different designs that I might implement in the future.
I found that once again, I would overthink the feedback that I received from peers. It was helpful though to see how other people perceive the information when they are not aware of the content. Some things that I learned were that the storyboard needs to be very specific in some ways. For example, I had two sections on one slide (due to slide limit), and although I knew they would be different pages, I did not specifically state this. Once again, I had planned on using audio in the branching scenario / role-playing, however, I did not specifically state that.
Development: Work Plan
Project Plan:
During the development phase of the ADDIE process is where the e-learning starts to take shape and the building and programming of content and interactive activities begins to happen.
At this point in my project, I pivoted from my original plan that was represented during the analysis and design phase. However, the topic that I chose still closely relates to my original plan. I was able to utilize the feedback from my original plan into my final project.
Title: Module #2 - Understanding Visual Boundaries
Overview:
My project plan will be to convert and update a pre-built module using Articulate Storyline.
My entire course will consist of five modules in total. The module that I will be converting is Module #2: Understanding Visual Boundaries. I previously built this module using the iSpring Suite Max software. My goal is to update the design, interactions, supplemental resources, and/or information to better adhere to best practices in e-learning. I will be using Clark and Mayer’s 12 Principles of Multimedia Learning as a guide during this update.
Platform/Technology: Articulate Storyline
Project Scope: Revised prototype module
Proposed Elements:
During this module, learners will be guided through the definition, interactive activities, a branching scenario with interactions with three students, a matching activity, and a final quiz. The learner will have an option to reflect on their learning during a discussion board post.
Timeline:
July 6 - Branching Scenario Complete
July 8 - Quality Assurance (QA) of Branching Scenario
July 13 - Matching Scenario Complete
July 20 - Updated Branching Scenario based on QA results
July 20 - Summary Slide
July 20 - Quiz
July 27 - QA Entire Module
August 3 - Update Module based on QA results
Implementation: Working Proof
At this stage of the ADDIE process, the implementation is where the hard work and effort in a tangible working product. For my project, this was in the form of a fully functioning module with interactive activities, content, and a quiz. At this point, my module is ready to be part of the overall course.
Sample Interactive Element
For my final project, I choose to revise a module that was previously built using the iSpring Suite Max software. During the implementation phase of that project, I had a couple of teachers as well as myself review the course. Clark and Mayer have identified 12 key principles that they recommend to follow when designing e-learning content. My original course did not adhere to the redundancy principle of avoiding the same information being displayed on-screen text and narration at the same time. With the revised module in Articulate, this was addressed and updated.
In this video, you will notice my first iteration of the branching scenario using the iSpring Suite Max software. In this version, I opted to include audio on every section. A learner can click stop if wanted, however, it does not default to that automatically. The two features that I was able to update in Articulate Storyline were the ability to continue to the next screen automatically until a decision was made and the ability to have the text change color when you have visited a student, question, or prompt. Originally, I also did not have the option to make all the students be required, so it was on an honor system if a learner visited each student before continuing on.
Throughout this video, you will notice the updated features in my final project. Some of those highlighted include optional closed captions, optional button to hear text audio read, easy to see changes when you have viewed a student, question, or prompt, and a built in requirement to visit all three students.
Scope of E-Learning
For my final project, I used Articulate Storyline to build and revise my previously built module. The main reason I choose Storyline is because it had the capability to build branching scenarios. Since this was one of my main interactive activities, it was important to find a program that supported a complex branching scenario.
In order for this module to go live, I need to finish the four other modules in the course. Once this is complete, I will be able to go live for this module. When my course is live, I will collaborate with local school districts and childcare centers to see if they would like to use this course as professional development for their staff.
Evaluation
At the final stage of ADDIE comes the evaluation of the module, course, or product. During this stage, information is gathered on the effectiveness of the course. I have devised a plan to determine the effectiveness of the course but I will not have an opportunity to complete this phase until my course goes live.
Visual Supports Course Goals
By the end of the course, the goal is for early childhood educators to have the foundational knowledge of various types of visual supports. The goal will be for the educators to demonstrate that knowledge through conversations, artifacts, and/or descriptive examples. These examples and artifacts can be things they are already doing in the classroom or what they would like to increase or add to the classroom.
The following are learning objectives for the course “Basics of Visual Supports.”
When given a culminating test at the end of the course, 90% of participating educators will be able to correctly define and name the three types (visual boundaries, cues, and schedules) of visual supports.
Following the completion of the course, 90% of participating educators will be able to identify and describe at least one example of a visual support they have implemented or plan to implement in their own classroom within six weeks of the final course module.
Following completion of the course, 60% of participating educators will have at least two artifacts (e.g., photograph, video, physical copies of visuals, etc) of a visual support they are using in their environment.
At the six week check-in, 90% of participating educators will have at least two artifacts (e.g., photograph, video, physical copies of visuals, etc) of a visual support they are using in their environment.
At the six week check-in, 100% participating staff will be able to engage in an interview questionnaire and discussion with the course moderator or supervisor, articulating the following information;
Purpose and function of at the three types of visuals (boundaries, cues, and schedules)
What two visual supports they are using in their environment
Contributing factors and barriers to implementing visual supports in their environment
Kirkpatrick Levels
Level 1: Reaction
Course survey
Six week post-course interview
Level 2: Learning
Course survey
Six week post-course interview
Level 3: Behavior
Course survey
Six week post-course interview
Level 4: Organization
Course survey
Six week post-course interview
Interview with director after participant interviews have been completed to share and discuss results and plan next steps
Assessment Techniques and Tools
Feedback:
Immediate feedback built into course on all interactive activities, knowledge checks, and quizzes
Feedback provided for correct and incorrect answers
Participants may review their answers after completing a quiz
Formative Assessments:
Interactive Activities
Drag and Drop Activity
Matching Activity
Branching Scenario
Process Charts
Knowledge Checks
Discussion Board
Summative Assessments:
10 Question Graded Quiz (Modules 1-4)
Must score at least 80% to pass and proceed to next module
Action Plan (Module 5)
Graded via a rubric by supervisor, moderator, or myself
Must score at least 80% to pass
25 Question Graded Quiz (Course)
Reviews knowledge from Modules 1-5
Must score at least 80% to pass
Type of Knowledge Assessed:
Declarative Knowledge
Survey:
Pre-Course Survey
Purpose: Gain a baseline on perceived skills related to visual supports.
Format: Rating scale 1-10 with sample questions of how often visual supports are being used, baseline knowledge level of visual supports, their attitudes toward the course, confidence in describing the various types.
Data Collection: Total score from all questions
Post-Course Survey
Purpose: Course effectiveness
Format:
All questions asked on pre-course survey
Additional questions about course style, attitudes toward what was learned, impact on their current position, and suggestions for program improvement.
Place to upload artifacts
Anticipated contributing factors stated will be shared with the director.
Data Collection:
Total score from pre-course survey
Qualitative questions will be scored via a rubric (when applicable)
Total score from post-course survey
6 Week Post Course Interview Questionnaire
It is recommended to do a follow-up six weeks post-course because at this time, the educators will have had time to absorb and analyze what they have learned and plan their next steps
Purpose: Determining effectiveness of course in regards to creating behavioral and system wide changes.
Format:
Will include some questions asked during the Post-Course Survey
The interview will be an opportunity to check in on retention of declarative knowledge as well as course effectiveness and if any change occurred.
Learners will have the option to fill out the questionnaire ahead of time and have a short interview conversation or answer the questionnaire during the interview. There will be a place to upload artifacts or share them during the interview.
Follow-up with the director to share data and check on program level changes, if applicable.
Reliability and Validity
Many steps have been put into place to address reliability and validity. To address reliability, any quiz questions and prompts will be uniform for all participants. However, the order of the answers in the test question will be shuffled every time a participant takes the assessment. For the qualitative assessment of the action plan and post-course interview, a rubric will be used to assess action report, interview and survey questions to ensure reliability. In order to ensure validity, the quizzes will have at least one question for every objective listed in the module. Depending on the type or level of the objective, some may have multiple quiz questions per objective to ensure competency of the topic.
Tools:
The following tools have been used for formal and informal assessments:
LMS: If an organization has a pre-existing LMS system, this course will be built into that system. However, if they do not have a pre-built system, Articulate Reach 360 will be used as the LMS platform
Discussion Board: Online Discussion Board (e.g. Padlet) or LMS System
Module and Course Quiz: Articulate Storyline (with data collection opportunity)
End of Course Survey:
If LMS is used, then the survey will be built directly into the system
If LMS is not used, Google Forms or Microsoft Forms will be utilized in order to retain data
Six Week Post-Course Interview: Questions related to what is working and what is not working as well as some questions from the End of Course Survey
Sample Assessments:
The link above will take you to a sample discussion board conversations from Module 2: Visual Boundaries.
The link above will take you to quiz for Module 2: Visual Boundaries.
The link above will take you to the End of Course Survey
Evaluation Plan
In order to determine course effectiveness, data from several sources will be used. First, logistical data will be gathered. This can include information such as enrollment data and completion rate for those enrolled. Second, the data collected during the pre-course, post-course, and interview questionnaire will be analyzed for changes in behavior as well as the knowledge gained. For example, contributing factors information will be gathered during the post course survey and interview questionnaire will be used to help determine program change. In order to have objective data, any qualitative questions, when applicable, will have a rubric for scoring in order to help determine effectiveness.
For this course, data will be reviewed after each cohort completes the class. The course will be available for 90 days. After the cohort and final interviews are complete, a report will be created compiling the data. After three cohorts have completed the course, a data analysis between the cohorts will be analyzed to determine if any major course changes need to be completed. Since each cohort might be in a different type of situation (daycare, school system, etc), the analysis of cohorts against each other will be important to help determine if changes may need to be made or addressed for a particular group.
Appendix
Articulate 360 (Storyline and Articulate Review)
Padlet (online discussion board)
Narakeet (Text-to-Speech Generator)
Smarty Symbols - This resource was created using Smarty Symbols. All rights reserved worldwide.
Microsoft Word / Google Docs
Microsoft Powerpoint / Google Slides
Resources and Technology Used
About the Author
Hello! My name is Tara Peters after years as an early childhood special education teacher, I now leverage that hands-on experience to design dynamic e-learning opportunities and present at conferences. I operate from a core belief: everyone has a fundamental right to learn and develop their chosen pursuits, regardless of age or ability. My extensive educational background includes a BA in Elementary and Special Education (with endorsements in Early Childhood Education, Early Childhood Special Education, and Reading), and an MS in Special Education with an Early Childhood Education emphasis.
I refined my approach to inclusive learning during 13 years in preschool special education and empowered countless professionals during 7 years as a professional development trainer. My work as an independent consultant and presenter now centers on providing practical strategies that equip individuals to create meaningful change. Complementing this, my completion of the eLearning and Instructional Design certification from the University of Washington in August 2025, enhances my ability to design even more impactful and inclusive digital learning.
When I am not focused on designing engaging learning experiences, I make sure to carve out time for joy, whether it’s relaxing with my cats, basking in the sunshine, solving puzzles, enjoying a game, or embarking on new adventures with my husband.
